Powered by Blogger.

Sunday, July 17, 2016

Android Studio: Failure {INSTALL_FAILED_INVALID_APK}-Solved

In android studio if you come with issues many times if using old android version API like api 19 or older and you get error like this ."Installation failed with message INSTALL_FAILED_INVALID_APK."


How to solve ?By researching lot on net i finally found 1 reasonable solution. But For that your android must be rooted.

Steps: 
  •  Download and Install Root Explorer From Playstore
  •  Open Root Explorer
  • First Give permission (Click MOUNT r/w) option on enable to get write permissions.
  • Go to storage------->sdcard1
  •  Press menu Button and Create Folder name it 'tmp'
  • select folder options and select last option   "Link to this folder"
  • Now go back to main directory(/) press back until you see / at path (see top)
  • Now go to "data"------> "local"  open local folder ;and press link to this older.
  • You are done try again it will work.
Published: By: Admin - 7:45 AM

Friday, July 1, 2016

Tutorial 1:Installing Android Studio StepWise


Learning Android is never been so easy with tutorials.To get started we must use proper IDE .There are many IDE's available on internet.In this series of tutorials we will use Android Studio.In this tutorial you will learn how to install Android Studio and start with first project.


Step 1 - Minimum Requirements


  • Microsoft® Windows® 8/7/Vista/2003 (32 or 64-bit).
  • Mac® OS X® 10.8.5 or higher, up to 10.9 (Mavericks)
  • GNOME or KDE desktop
Required Tools

  • Java JDK7 or later version
  • Java Runtime Environment (JRE) 6
  • Android Studio

Step 2 - Setup Android Studio


Overview

Android Studio is the official IDE for android application development.It works based onIntelliJ IDEA, You can download the latest version of android studio from Android Studio Download, If you are new to installing Android Studio on windows,you will find a file, which is named as android-studio-bundle-143.2915827-windows.exe.So just download and run on windows machine according to android studio wizard guideline.
This tutorial will consider that you are going to setup your environment on Windows machine having Windows 10 operating system.

Installation

So let's launch Android Studio.exe,Make sure before launch Android Studio, Our Machine should required installed Java JDK.
Android Studio  
Once you launched Android Studio, its time to mention JDK5/6/7 any path or later version in android studio installer.
Android Studio Installation 
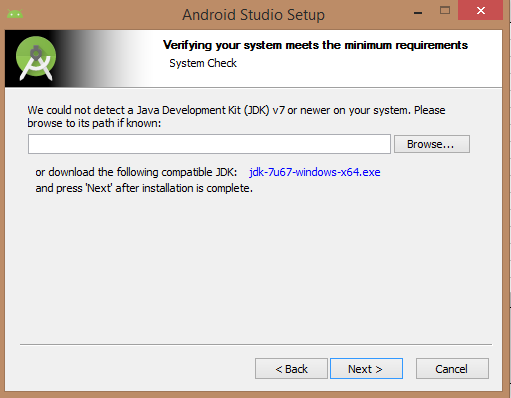
Below the image initiating JDK to android SDK
Android Studio Installation  
Need to check the components, which are required to create applications, below the image has selected Android Studio,Android SDK,Android Virtual Machine and performance(Intel chip).
Android Studio Installation 
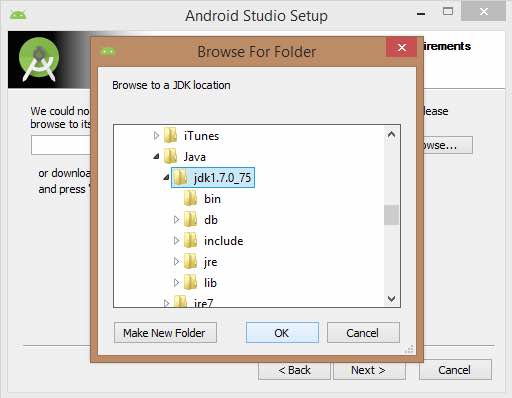
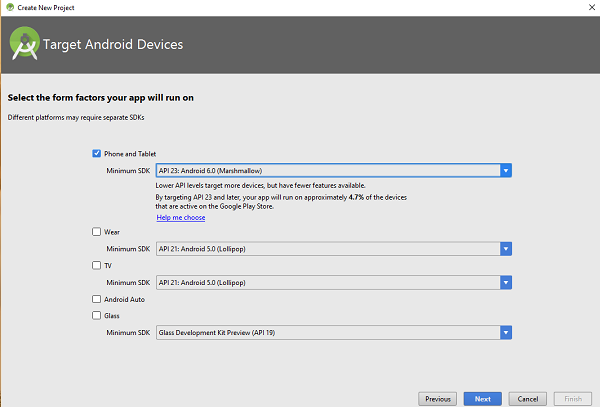
Need to specify the location of local machine path for Android studio and Android SDK, below the image has taken default location of windows 8.1 x64 bit architecture.
 
Need to specify the ram space for Android emulator by default it would take 512MB of local machine RAM
Android Studio Installation 
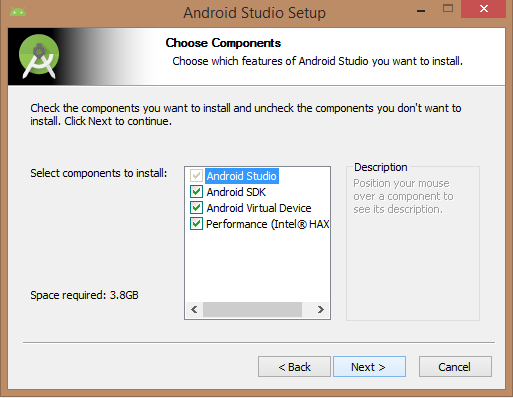
At final stage, it would extract SDK packages into our local machine, it would take a while time to finish the task and would take 2626MB of Hard disk space(if using latest version it is increased to 2.8gb).
 
 After done all above steps perfectly, you must get finish button and it gonna be open android studio project with Welcome to android studio message as shown below
Android Studio Installation 
 You can start your application development by calling start a new android studio project. in a new installation frame should ask Application name, package information and location of the project.
 
 After entered application name, it going to be called select the form factors your application runs on, here need to specify Minimum SDK, in our tutorial, I have declared as API21: Android 5.0(Lollipop)
Android Studio Installation 
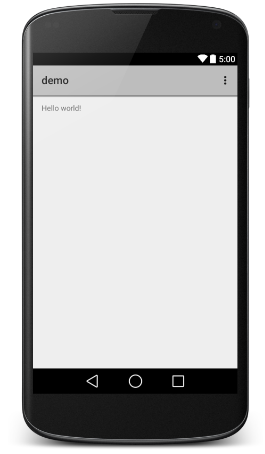
The next level of installation should contain selecting the activity to mobile, it specifies the default layout for Applications
Android Studio Installation  
At the final stage it going to be open development tool to write the application code.
Android Studio Installation

Step 3 - Create Android Virtual Device

To test your Android applications, you will need a virtual Android device. So before we start writing our code, let us create an Android virtual device. Launch Android AVD Manager Clicking AVD_Manager icon as shown below
Android Studio Installation 
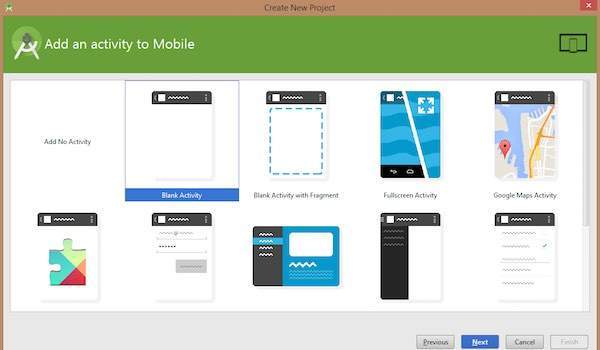
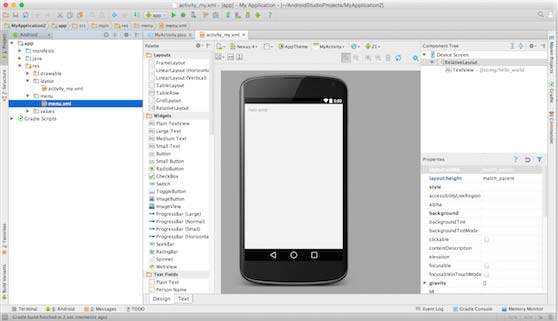
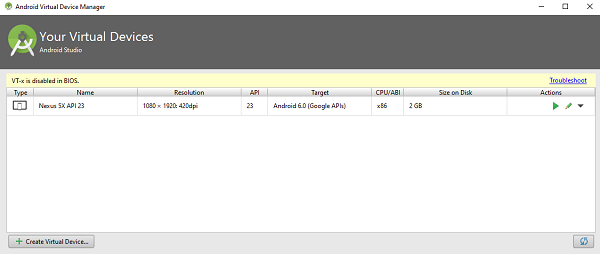
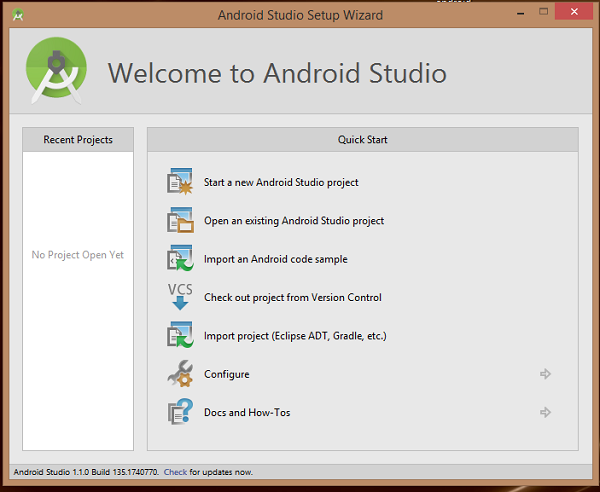
After Click on a virtual device icon, it going to be shown by default virtual devices which are present on your SDK, or else need to create a virtual device by clicking Create new Virtual device button
Android Virtual Device  
If your AVD is created successfully it means your environment is ready for Android application development. If you like, you can close this window using top-right cross button. Re-start your machine and &  Run app to see below eg.


result


Exercise:
  • Try Changing Hello -World to your Name and Address
Published: By: Admin - 9:20 AM